
We’ll start using HTML (hypertext markup language), SVG (scalable vector graphics), and CSS (cascading style sheets). To start making this face, right here this is our starting point. A bare minimum HTML page. As you watch this, I’d like you to follow along, write the code yourself as I write it. Don’t copy-paste. You can go to this link right now and follow the steps that I’m about to do.
What you’re looking at here is a program inside of the platform called VizHub, which I created to help teach this course. What I’d like you to do is fork this program by clicking on the Fork button, and when it comes time to submit your assignment, just submit the link to your forked thing with your modifications.
Before we do anything the first thing we need to do is sign in and you could sign in via GitHub so if you click sign in with GitHub, it’ll take you through this GitHub authentication flow. Just type your username and password, click Sign in with GitHub, and you should see your own user avatar in the corner.
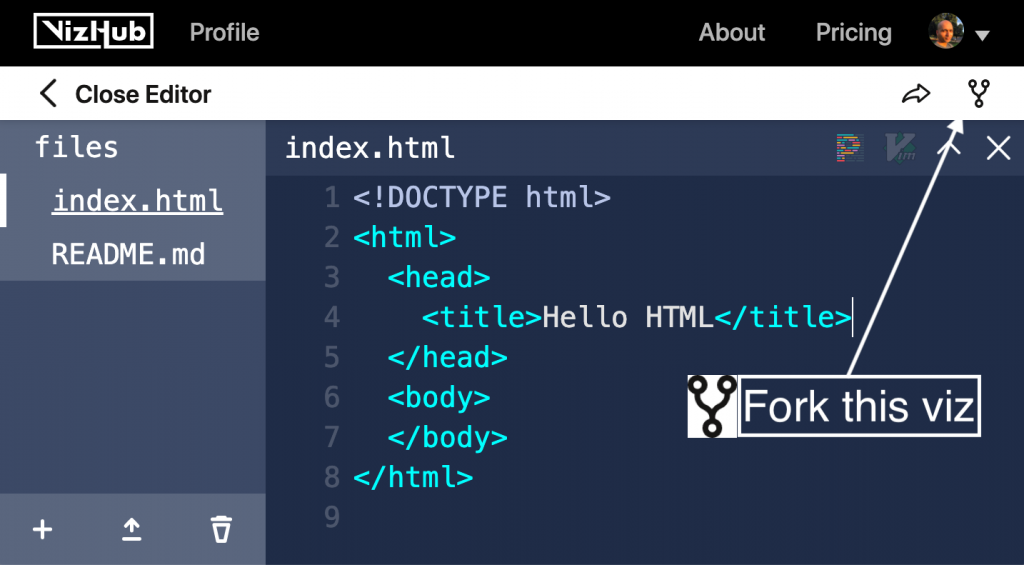
Now you can fork this by clicking on this little button here, so now you’ve got your own fork of this program that you can modify. To open the editor, you can click Open Editor, and then navigate into files, and click on index.html. You can resize the split pane, and increase the browser zoom to get a better view of the code.
<!DOCTYPE html><!--💬 This declaration of the doctype that tells the browser that this is an HTML5 document -->
<html>  <!-- ⬅️ HTML tag. 💬 ⬇️ What goes in here defines the whole HTML document-->
  <head> <!--💬 The head of an HTML document gets loaded first completely before the body does.-->
    <title>Hello HTML</title><!--⬅️ 💬 The title tag. It sets the title of your page - the one you can see on your web browser tab.  -->
  </head>
  <body><!--⬅️ body tag. 💬 ⬇️ Here's where you put everything that you want to show.-->
    <h1>Hello World!</h1><!--⬅️ h1 tag. Heading elements can range from h1 to h6. See: https://developer.mozilla.org/en-US/docs/Web/HTML/Element/Heading_Elements -->
  </body><!-- ⬅️ HTML tag. 💬 ⬆️ Here's where you put everything that you want to show.-->
</html><!-- ⬅️ HTML tag. ⬆️ What goes in here defines the whole HTML document-->
Intro to HTML
We have here, a bare-bones HTML page. It starts with this declaration of the doctype that tells the browser that this is an HTML5 document. And then we’ve got this open HTML <html> and close HTML</html> set of tags, what goes in here defines the whole HTML document. The <head> of an HTML document gets loaded first completely before the <body> does. Things that you can’t see directly on the page, but have some impact on the page go inside the head tag.
For example, the <title> tag sets the title of the page. If this were a file on disk, and you were to open it up, this title would go in the tab of your browser. But in VizHub, the title shows up right below the data visualization.
In the <body> tag is where we want to put everything that shows up, that you can see. So we can type in hello. Let’s see what happens. Boom! There it is, hello. Really small. To make that text a bit larger we can use the <h1> tag, so we need to use open <h1> and then close </h1> tags. So we’ve got to hello world, but let’s not get sidetracked.
Our original goal here is to make a face. But what kind of face? I’m thinking like a smiley 😀 face. You know, one of those yellow smiley faces that’s a circle, and then the big black eyes. Let’s take the first step towards this goal by making the circle that is the outline of this face.
Draw a big yellow circle
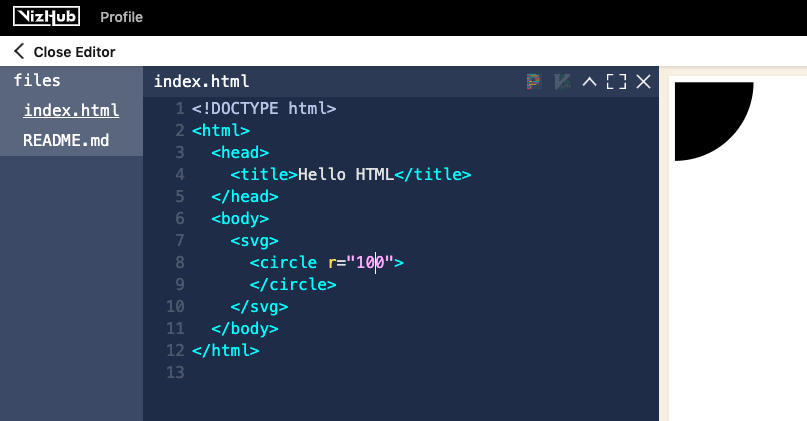
So what I want to do next is instead of saying Hello World, there should be a big yellow circle. So to get started doing that, I’m going to create an SVG element. <svg></svg>
Inside of the <svg> tag, we can make a new <circle> element with the <circle> tag. Within the <svg> element, you can have tags that are specific to <svg>. So <circle> is one of these kinds of elements that only really functions inside of an <svg> element. We can make the circle visible by giving it a radius. We can say r="10” and now this little circle shows up. Let’s say r="100". This means, that the radius the distance between the center and the outside is a hundred pixels.
Explained: The difference between a tag and an element
Before we go any further I want to clarify this distinction between tag and element. Because it may seem like I’ve been using them interchangeably, but they mean different things. A tag is in the code that you write. It’s the syntax that appears in your source code file. But when this file gets run by the browser, it produces elements, and if you right-click on something and you say Inspect, you can inspect the element. This element gets produced when the tag in the code gets evaluated in the browser.
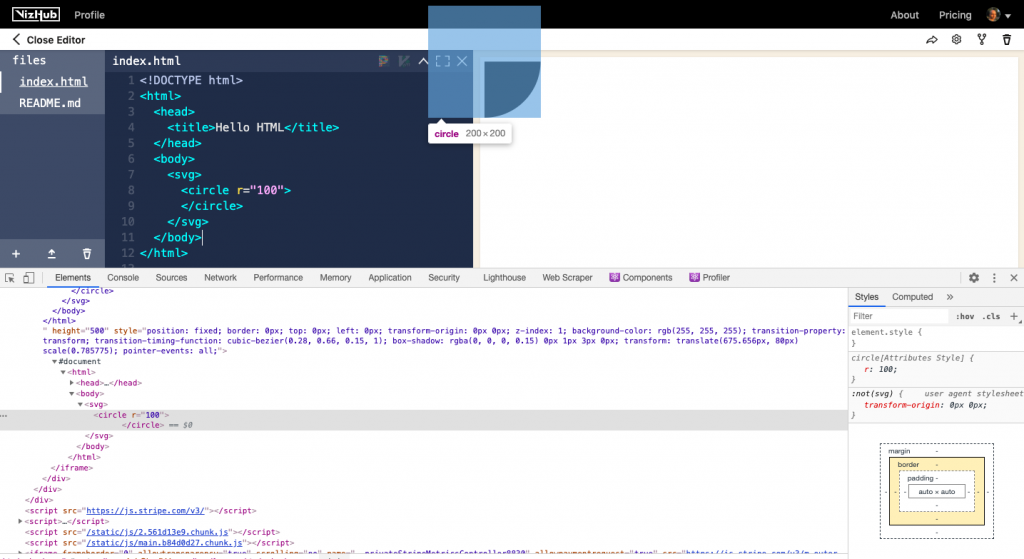
So this is our DOM – Document Object Model. We’ve got <svg>, and inside of that, we’ve got a <circle>, and that’s how you can expand and collapse these when an HTML file gets run by the browser. It parses all of these tags in the source code, and based on that it produces this document, which is a tree data structure. It’s nested, and this data structure itself of nested elements in a tree structure is called the Document Object Model. So when people say DOM manipulation, it means they use JavaScript to change this around.
Inline CSS, and refactoring it
What I want to do next is make this circle bigger, big enough to fill the middle of the page, and make it yellow, as the foundation for our smiley face.
I can keep changing the radius to make it bigger, but look at what happens at r=200. It gets cut off at the bottom. This is because the SVG needs a width and height, and if you don’t specify width and height, it gets some default width in height. You can set the width and height like this – width=960, and height=500. These dimensions of width and height are used on VizHub as the dimensions of the program that runs. These are also the dimensions used on blocks.org by the way. But now we’re getting these pesky scroll bars, which I want to avoid. We’re getting these because the <body> has a default margin. We can override the default margin by doing some inline CSS, so we can say <body style=“ margin : 0>. I don’t know why the scroll bars are still there, but we can get rid of them by saying overflow:hidden as well.
Okay now there’s no scroll bars, but I don’t quite like how this feels. This is called inline CSS, meaning inline with the HTML. This is CSS, but not in the traditional way that you would do it. So let me just refactor this a little bit. The term refactor means to clean up the code. If you never stop and refactor, your code is going to be a mess and you’ll be stuck with technical debt, so pay off your technical debt early, and refactor all the time.
Instead of doing inline CSS like this, we can introduce a style tag. <style></style> And style inside of this. A <style> tag is where you can put CSS.
So I’m going to get rid of the body styling, put it in here, but right now this is not valid CSS. To make it valid CSS, we need to start with a selector. So I’m going to start with body as our selector, and then inside of that block, I’m going to set these two properties.
<style>
  body {
    margin: 0;
    overflow: hidden;
  }
</style>
So now we’re using CSS in a style tag to affect the body, namely set zero margin and set no scroll bars. Let’s get back to our task at hand, namely making this circle the foundation of a smiling face.
Position and color the circle
So let’s work on the position of this. The <circle> element has these attributes, cx and cy. We could set cx to be the centerX coordinate, and since we want it to be in the middle, that’s going to be 960 divided by 2. But we can’t exactly say 960/2 like that, because we’re not in JavaScript. But let’s use JavaScript to figure out what this is.
You can open up the Developer tools under More tools -> Developer tools, also Ctrl + Shift + I. That’s a shortcut worth remembering. I see it’s this is where errors pop up too, so if you have some problem with your code, look in the console in the Developer tools. It’s going to tell you what the errors are. Now it’s telling us this is not valid, but if we just paste that in the Developer tools Console, it will evaluate as JavaScript. And we can say oh that’s 480.
So let me put that as our value for cx. Now our circle is in the middle. Let’s do the same for height. I already know 500 divided by 2 is 250, so I’ll just change it like that. All right now everything lines up. r=250 happens to be correct, because it’s height divided by 2, so that will make the circle exactly fit the height of our display here. The last remaining thing is to change the color, and I’m gonna do that by setting the fill attribute. We can say fill=“yellow”, and now we’ve got this big yellow circle.
I can’t quite tell where the circle ends and the background begins. It’s a little tricky so let’s make an outline around this. To make an outline we can set the stroke attribute to be black with stroke=“black". Now we’ve got this black outline around it, and I kind of want to make this a little thicker. So I’m gonna set the stroke-width attribute to be 10 pixels. stroke-width=10.
Now we’ve got this problem. The top and the bottom are getting cut off. To solve that, we need to reduce the radius a little bit. See we really want to be able to describe this with math, as in like height/2 - stroke-width/2, but since we’re not in JavaScript, we can’t really do that. But I’m just gonna stash this thought for later use in an HTML comment, which looks like this.
<!— height / 2 - strokeWidth / 2 —>
For now, I’m just gonna do the math in my head. r=245. Okay, now it’s lining out pretty nicely.
Add eyes to the face
The next thing I want to is to add some eyes to this face. And we can do that with circles as well. Just two black circles. I’m just gonna copy-paste this circle into a new circle and then change these attributes to be eyes.
So let’s start by making the fill=black. And no stroke, that’s actually the default, so if I remove the definition of fill, the fill is gonna be black. So now we have a big black circle. Let’s make it smaller just by changing the radius. Let’s say 50. Okay, now we’ve got one eye. Cyclops smiley face here.
So let’s move the eye to where the eye should be, namely a little bit to the left, and a little bit up. To move it to the left, I can use cx or change cx, and if I were to express this in math, I would want to say centerX - eyeOffsetX, but since we’re not in code, I can’t really do that, so it’s gonna be 480- something.. So let me just say 440. But I’m going to stash this thought in a comment.
<!-- centerX - eyeOffsetX-->
But see, it did move over a little, bit but not as much as I had hoped. Let’s try 400. No, it needs to be a little more, maybe 350. Okay great, now if we want to move it up, we need to change see why you might think that increasing the y-value would move it up, but if I change this higher to 290, see it actually goes down, because in this coordinate system Y of zero means it’s at the top of the screen. So if we want to move this up, we need to actually decrease the Y value. So let’s try a value of cy=200. Okay, we’re getting closer maybe on a 180. All right that looks pretty good.
So now let’s make our right eye.
I’m gonna copy-paste that circle, and then change cx to move it over. Ideally, if we were in code, I would want to say CenterX + eyeOffsetX. That way we could define eyeOffsetX in one place, and then it would move both eyes. But since we’re not in code. I’m just gonna sort of guess at what this is gonna be, like maybe 40, or I don’t know 600. All right, we’re getting somewhere.
<!DOCTYPE html>
<html>
  <head>
    <title>Let's Make a Face Part I</title>
    <style>
      body {
        margin: 0;
        overflow: hidden;
      }
    </style>
  </head>
  <body>
    <!--
      height / 2 - strokeWidth / 2
      centerX - eyeOffsetX
    -->
    <svg width="960" height="500">
      <circle
        cx="480"
        cy="250"
        r="245"
        fill="yellow"
        stroke="black"
        stroke-width="10"
      >
      </circle>
      <circle
        cx="350"
        cy="180"
        r="50"
      >
      </circle>
      <circle
        cx="600"
        cy="180"
        r="50"
      >
      </circle>
    </svg>
  </body>
</html>
But I’m beginning to feel a bit frustrated that we can’t JavaScript code in here because this is just HTML. For example, I don’t really know if this eye is at the right spot. It looks like it’s a little further away from the edge than this one.
So I’m gonna at this point take the plunge into migrating over to use React. Then we can do all those things that we wanted to do using math to position and size these things. This might be an interesting artefact keep to keep around, so I’m just gonna rename this to Smiley Face Part One, and then I’ll just update the description, and Readme.md. MD stands for Markdown, by the way, I’m just gonna make this say “Halfway towards a smiley face.”
That’s all for now. But stay tuned for part two, where we will be using React and D3 to finish off this face.