This page is all about VizHub, the flagship product of Datavis Tech INC. VizHub was created to help deliver courses in data visualization and host Open Source code examples for data visualization. More advanced features of VizHub are currently being developed that will ultimately help our data visualization consulting projects be carried out faster, better, and more collaboratively. VizHub is totally free to use to create public content that is Open Source (MIT licensed). Paid plans are in the works but not yet available. We have a public Kanban board where you can see plans for new features, provide feedback, and discuss ideas for improving VizHub.
What can I do with VizHub?
You can use VizHub to create and develop data visualizations in your browser. Actually, you can run any programs build with Web technologies including HTML, CSS, JavaScript, and JSX (React). The main focus however is on creating interactive visual computer programs, particularly data visualizations.
In addition, VizHub has an educational angle. It has been used as the platform for producing and running an online graduate course on Data Visualization at Worcester Polytechnic Institute in Fall 2018 (also released as a 13 hour video from FreeCodeCamp) and Fall 2019. It has also been used in Datavis Tech Track Course at CMD Amsterdam, The Netherlands. It’s both the platform used for recording screencast coding videos and the platform used by students to perform their assignments.
Using VizHub
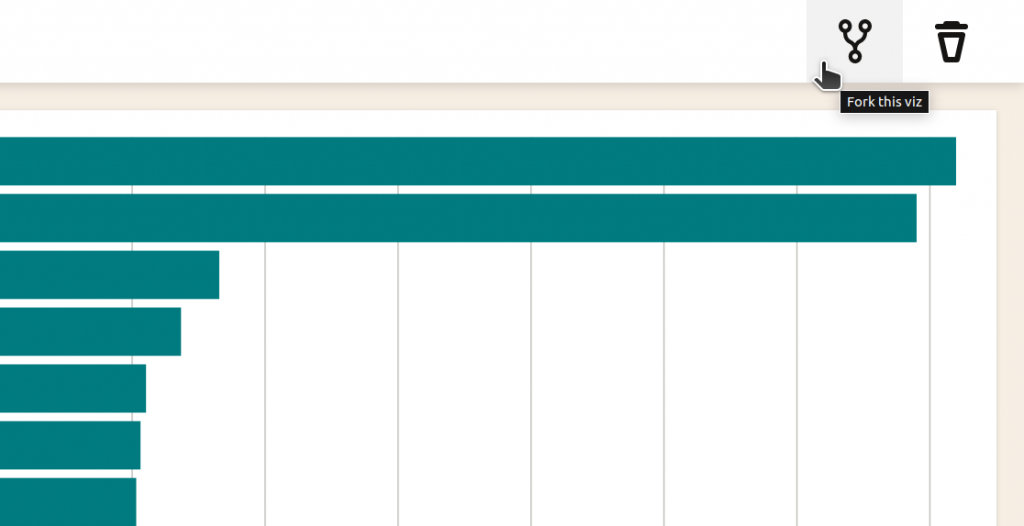
The only way to create something new in VizHub is by forking an existing thing. In VizHub, each “thing” is called a “viz”. A viz is comprised of HTML, CSS and JavaScript code. ES6 modules and JSX (React) are supported as well.
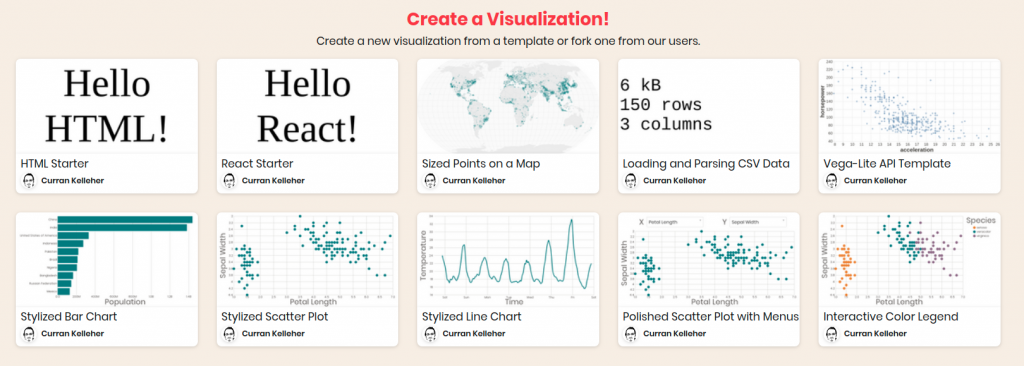
The Create Viz Page showcases a collection of works recommended for forking, but you are free to fork any viz created by any person.
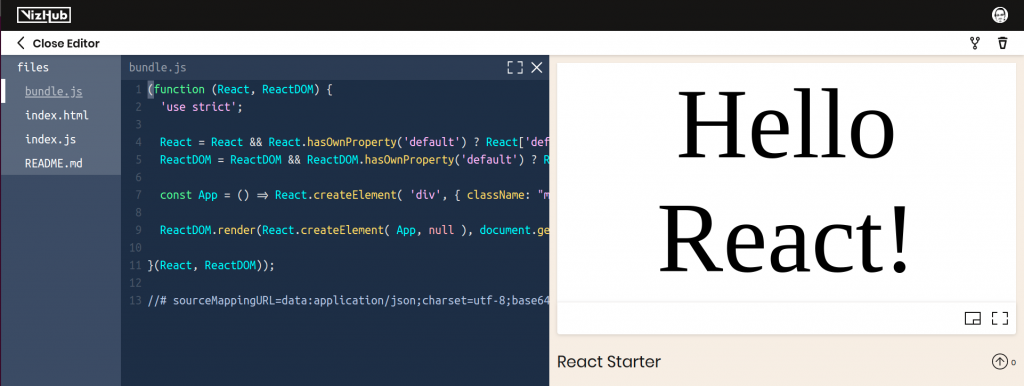
VizHub internally uses Rollup to bundle modules and transpile JSX. In fact, you can view the read-only generated file “bundle.js” inside the VizHub editor, which is the transpiled JavaScript bundle that ultimately runs on the page to produce the interactive graphics.
Using third party libraries via ES6 import syntax is possible, but only for libraries that have been set up. For all other libraries, you can still use them by accessing the globals that they provide.
- If a library is included in vizhub-libraries,
you can use ES6 import syntax. - If not, you can
- use the browser global directly in the mean time,
- submit an issue to vizhub-libraries to request it be added
Note: using import from .json files is not supported in VizHub, as this is not part of the ES6 module standard. If you’re interested in doing this, please upvote or commont on this Feature request: Import from JSON files.
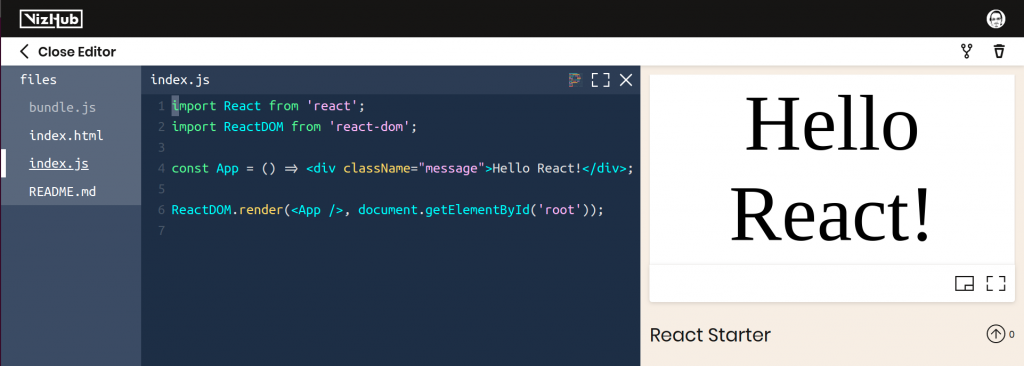
In VizHub, imported JavaScript libraries are not included in “bundle.js”, but are rather resolved to the global browser variables that they introduce. This is why for every package you import from, you need to include it using a traditional <script> tag, typically via a CDN like UNPKG or jsDelivr.
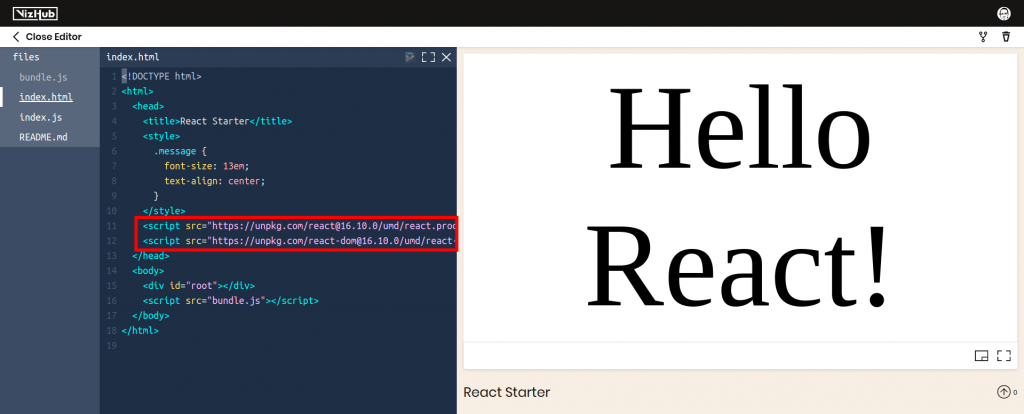
Resolving imported package names to browser globals has many advangates over including entire libraries in our browser-generated bundle. One such advantage is extremely fast in-browser transpile times. Since we’re not bundling libraries, creating the bundle from the modules you author is nearly instantaneous, and you never need to wait for packages to be “installed” or “resolved”.
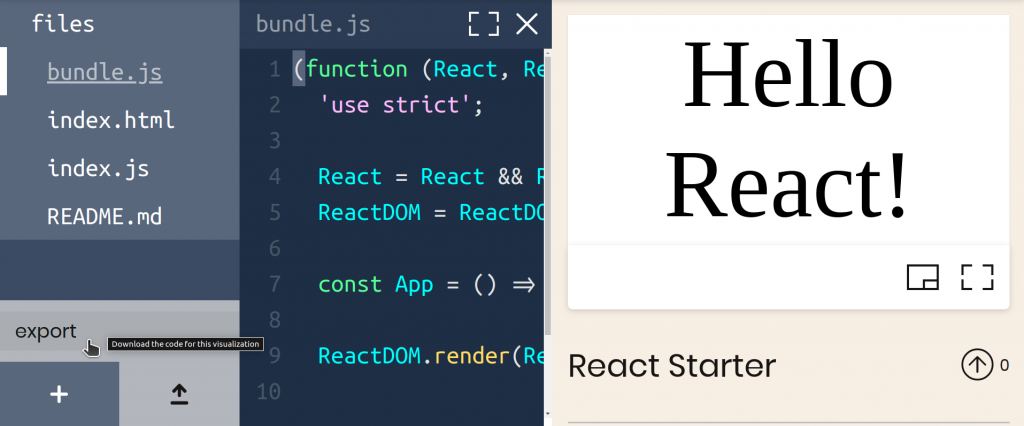
Another advantage of resolving imported package names to browser globals is an extremely small export of vanilla files that can be hosted on any static HTTP server.

Editing Code
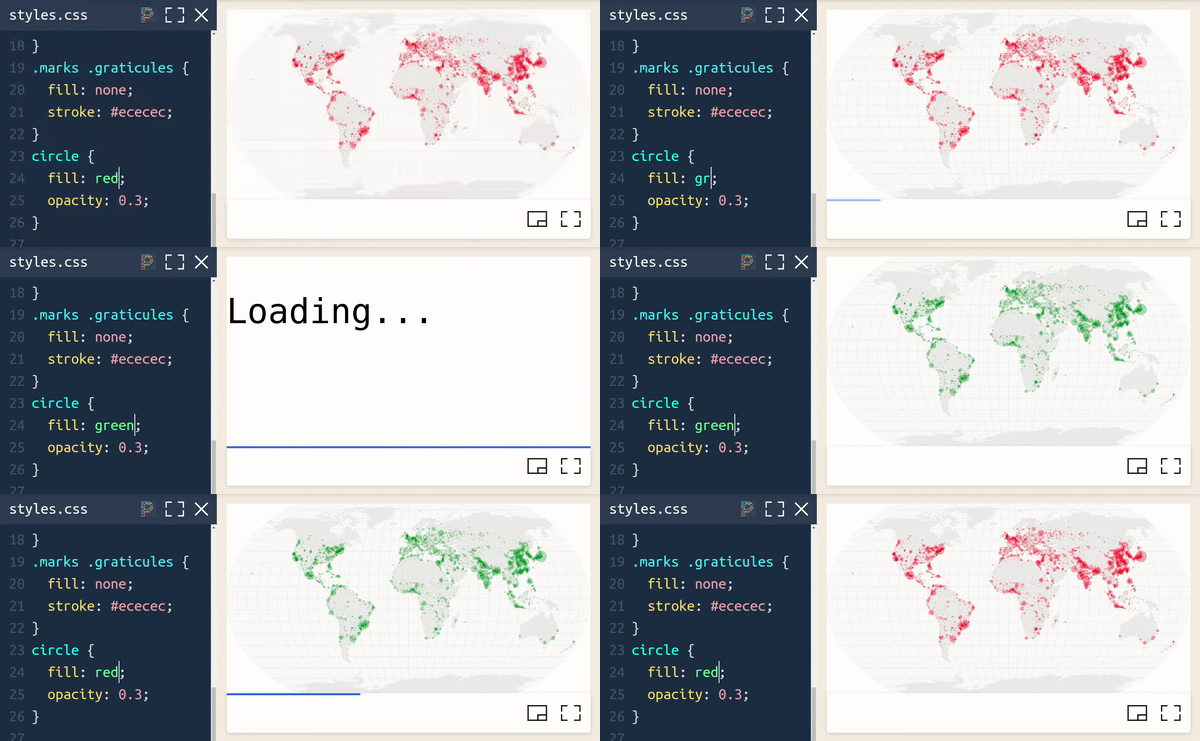
When you edit code in VizHub, it triggers a timer. On each keystroke, the timer is reset. When the timer runs out, the program is re-run. A blue line on the bottom of the viz preview indicates the position of the timer.
When a JavaScript runtime error occurs, you should see in the console an error that indicates the correct line number in the file you authored (thanks to the power of SourceMaps!).

Syntax errors or other transpile-time errors on the other hand are presented nicely to you in place of the graphic (inspired by the error overlay used in create-react-app).

If you’re a Vim user, you can toggle Vim mode with ALT+V.
You can automatically format code using Prettier with ALT+P, or by clicking the colorful “P” icon in the top right of the code editor.
Describing Your Work
The content you create in README.md will be rendered from Markdown to HTML and displayed in the description section. Images are supported in this content using Markdown syntax. Images will be made responsive to fill the width of the description.

You can also embed videos from YouTube directly inside your visualization description by copy-pasting the embed snippet provided by YouTube. The embedded video will also be made responsive to fill the width of the description.
Sharing Your Work

When you share a link to a viz in social media, it unfurls to show more details. Feel free to share VizHub links in any social platform, as they should be handled gracefully.


Recovering from Infinite Loops
If you accidentally write an infinite loop in your code and it runs, your browser tab will crash. Fear not! You can enter “recovery mode” by adding #recover to the end of your URL before loading the page.
For example: https://vizhub.com/curran/90f961ce0f824558a4cc053bd38ae5f3#recover
To get this URL for your broken viz:
- Right click the preview of your broken viz.
- Click “Copy link address”
- Open a new tab
- Paste the URL (but don’t hit enter!)
- Type
#recoverat the end of the URL - Hit enter to load the page in recovery mode.

In recovery mode, the code will not run. You can make code changes to fix your infinite loop, which will be saved automatically, then you can click “Exit recovery mode” to run the program again when you’re done.
Working Outside VizHub
For those new to JavaScript development – typically JS developers do generate some sort of bundle while inside their development environment. This can be done by running a command (outside of the IDE) in a terminal. That command typically uses Node.js and packages from NPM to run. Popular tools for bundle generation include Webpack (used in create-react-app), Parcel, and Rollup.
VizHub uses Rollup internally (running inside your browser), and provides the bare minimum configuration that you need in order to generate bundle.js in your own development environment using Rollup. These specifications are contained in package.json and rollup.config.js.

bundle.js.Assuming you have installed Node.js, the commands you need are as follows:
npm install(one-time only, to install the build tool Rollupnpm run build(each time to generate bundle.js)
There’s a way to set up Rollup to watch for changes and automatically generate bundle.js when your files change as well. You’ll also need a local HTTP server to serve all the files locally. The NPM package http-server is good for that. There’s also live-server which refreshes automatically when files change.
Right now, VizHub can to be used as an effective platform for both teachers and students of any course that uses Web technologies. Once the paid features are available, VizHub will be an ideal tool for firms that develop and deliver data visualization projects for clients (such as Stamen Design, which helped design VizHub).
Acknowledgements
Many thanks to those who have worked on VizHub over the years and helped shape it into what it is today. Shout out to Oleksandr Poplavskyi – full stack developer, Kalpesh Bhad – front end engineer, Bozlur Rahman – logo designer, the Stamen Design crew (Vinay Dixit – PM, Alec Burch – UI Design, Sam Vogt – UI Design).

